How to Dig a Pond with a Mini Excavator: Step-by-Step Guide
If you’ve ever dreamed of having your own backyard pond or water feature, you might be wondering — how do I dig a pond with an excavator? Or more specifically, how do I dig a pond with a mini excavator? The good news is, with the right plan, tools, and equipment, you can absolutely create a beautiful pond using a mini excavator.
At Arnold’s Equipment Rentals, we regularly help homeowners and contractors in Connecticut choose the right excavator for pond projects — from small garden ponds to large fishing ponds. Here’s what you need to know.
Can You Dig a Pond with a Mini Excavator?
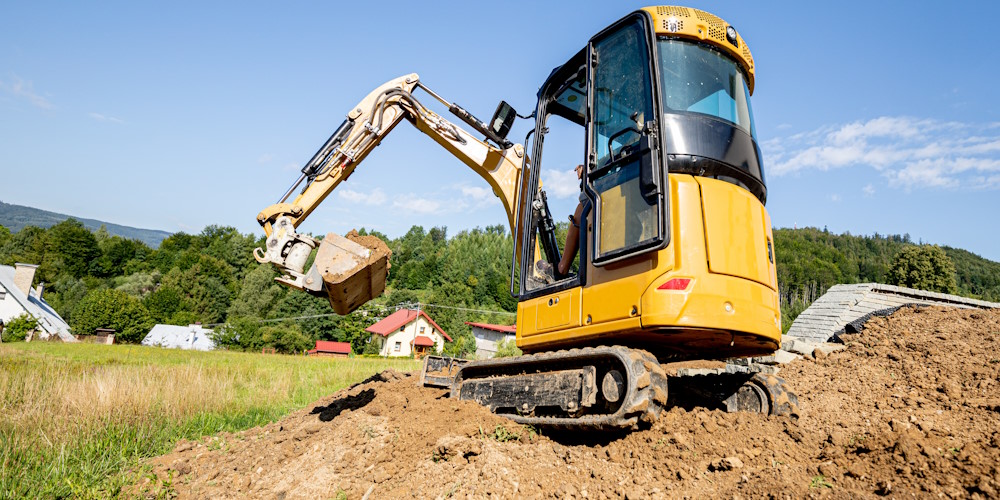
Yes — a mini excavator is an excellent choice for small to medium-sized pond projects. It’s compact, fuel-efficient, and easy to maneuver, especially in tight spaces where larger machines might not fit. Mini excavators can dig between 5 and 12 feet deep, depending on the model and soil conditions.
If you’re planning a backyard pond, landscaping feature, or small livestock pond, a mini excavator is usually all you need. However, for very large or deep ponds, a standard excavator might be a better option — more on that below.
Step-by-Step: How to Dig a Pond with a Mini Excavator
Follow these basic steps to safely and effectively dig your pond:
1. Plan Your Pond Design
Before you start digging, decide:
- The pond’s location, shape, and depth
- How the water will flow in and out
- Whether you’ll install a liner or natural clay seal
Always call 811 before you dig to check for underground utilities, and check with your town for any required permits.
2. Mark the Pond Area
Use marking paint, flags, or stakes to outline the perimeter. This helps guide your excavation and keeps your edges clean and symmetrical.
3. Start with a Shallow Cut
Begin digging from the center and work outward, removing topsoil first. Keep the bucket angle shallow and smooth to form the pond’s gradual slope. Mini excavators allow for precise digging — perfect for shaping the contours of your pond.
4. Dig in Layers
Instead of trying to reach full depth immediately, dig in layers (about 1 foot at a time). This helps maintain stability and reduces the risk of collapsing edges, especially in softer soil.
5. Create a Shelf or Ledge
For safety and aesthetics, include a shallow shelf around the edges. This can support plants and provide easy access for wildlife or maintenance.
6. Compact the Base
Once the desired depth and shape are reached, compact the soil using the excavator’s bucket or a rented compactor. If using a pond liner, make sure the surface is smooth and free of sharp debris.
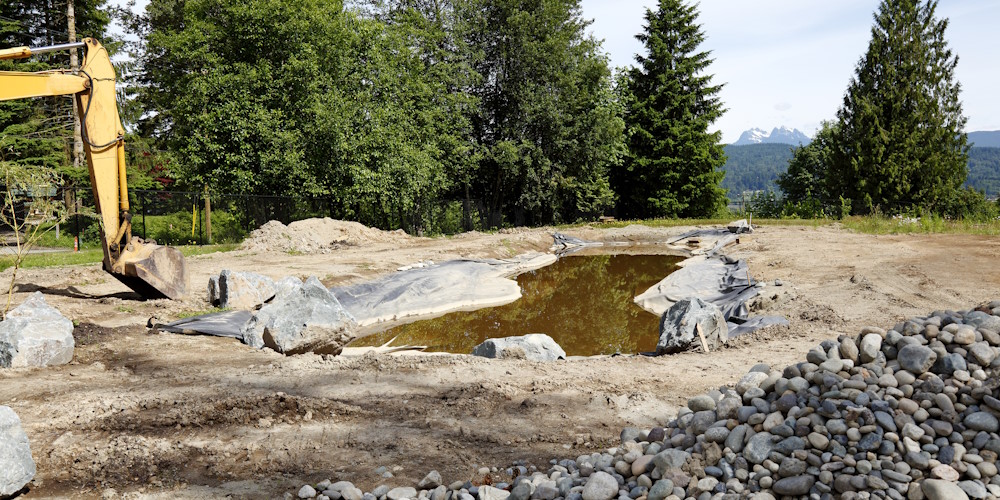
7. Add Finishing Touches
After digging, add:
- A liner or clay seal
- Rocks or edging stones
- A pump system if you’re planning a waterfall or fountain
Then, begin filling your pond and enjoy the results!
Mini Excavator vs. Standard Excavator: Which Do You Need?
While mini excavators handle most pond projects, some situations call for a standard excavator instead.
Choose a Mini Excavator if:
- Your pond is under 12 feet deep
- You have limited space or soft ground
- You need precision shaping
- You’re a homeowner or landscaper working on small to mid-size projects
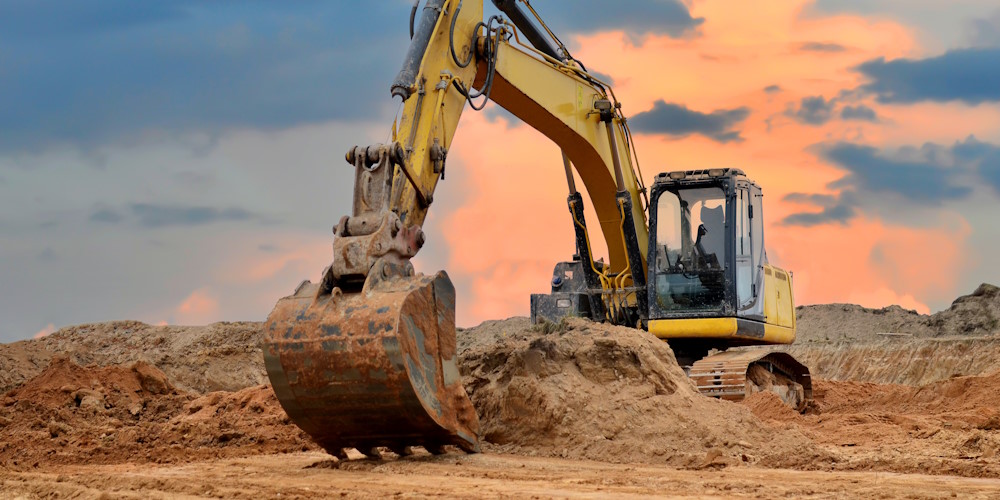
Choose a Standard Excavator if:
- You’re digging a large farm or fishing pond
- You need faster digging and higher lift capacity
- You’re working on commercial or multi-acre properties
At Arnold’s Equipment Rentals, we can help you decide exactly what size excavator is right for your project — so you don’t overspend or rent more machine than you need.
Rent an Excavator in Connecticut for Your Pond Project
Whether you’re creating a small decorative pond or a large water feature, Arnold’s Equipment Rentals has the right machine for the job. We offer both mini and standard excavators for rent — all well-maintained, powerful, and easy to operate.
Browse our excavator rentals or call our team today to get expert advice on the best excavator for your pond project.